Tutorial: Install WordPress and the Indie Web plugins
This article is a stub. You can help the IndieWeb wiki by expanding it.
For this tutorial, we assume that you have set up an Amazon Web Services EC2 virtual server, and you are able to log into that server with ssh. We also assume that you have acquired a domain name for your site and you have set up DNS so it points to your virtual server.
Now you can install Wordpress and the Indieweb plugins. While we are at it, we will also get an https certificate for your site from Let's Encrypt, so all web traffic to and from your site will be encrypted and protected from tampering.
Install Wordpress and the Indieweb plugins
Here are the steps:
| 1. | After you have logged into your virtual server with ssh, execute the command:
This will update your virtual server to the latest code. This will just print a few progress messages. You will notice that every time you can enter a command into the terminal, the terminal first prints |
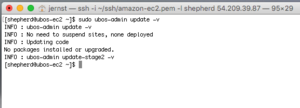 |
| 2. | Now let's make sure that the server has no existing websites installed. Execute:
This command should print out nothing and also not report an error. |
 |
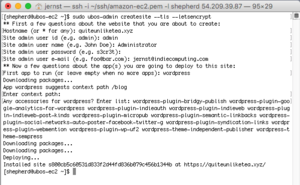
| 3. | Let's execute the command that will actually set up our new Indie Website. Say:
and answer the questions as they are presented.
We want to run Wordpress, so:
If you made a mistake, you can hit control-C and start over. Once you hit return, there will be some progress report ("Downloading packages ... Deploying") and you will need to be patient for a few minutes. Finally, it will say "Installed site s.... at https://quiteunliketea.xyz/" or whatever your domain name is. The screenshot to the right has the full transcript. |
 |
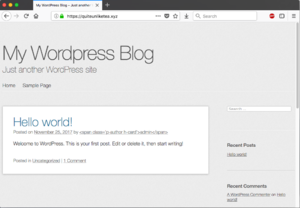
| 4. | That was too easy. Let's check by using a browser to go to your domain name. In our example, that is https://quiteunliketea.xyz/ and indeed, as you can see from the screen shot on the right, here's our site!
|
 |
| 5. | Log into your new site as the administrator: first you need to find the login button, it's hiding further down the right column. You might need to scroll down. | 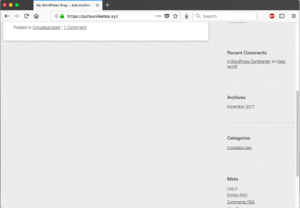 |
| 6. | Click the "login" button on your new site, and enter the username and password of the administrative user you created above. You will notice that the usual Wordpress login dialog has an extra "Log in with your domain" field -- the Indieweb plugins are working! | 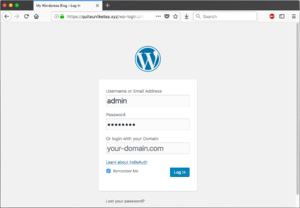 |
| 7. | Your site is running, https and all, and you logged on as the administrator. Congratulations! | 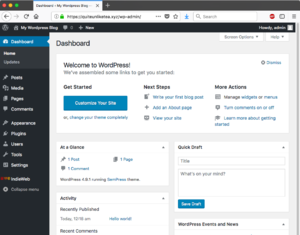 |
