Tutorial: Configure WordPress and the Indie Web plugins to your liking
This article is a stub. You can help the IndieWeb wiki by expanding it.
For this tutorial, we assume that you successfully worked through the Tutorial: Install WordPress and the Indie Web plugins, and you now have Wordpress and the Indie Web plugins running on an Amazon Web Services EC2 virtual server, with your chosen hostname set up to point to your server.
Now we will configure Wordpress, the plugins, and related services.
Set an Indieweb-capable theme
Here are the steps:
| 1. | After you have logged into your Wordpress installation through your browser, select "Appearance" from the sidebar. This will show you the list of currently available themes. Two of those provide better support for the Indie Web than others:
|
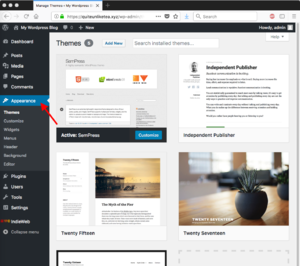 |
| 2. | To activate a different theme, such as "Independent Publisher", click on the theme, and then on "activate". | 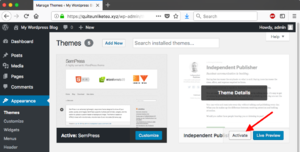 |
Create a Wordpress user that will do most of the posting
| 1. | It is advisable to create an account separate from the administrator account. To do this, select "Users" in the sidebar. Click "Add New". | 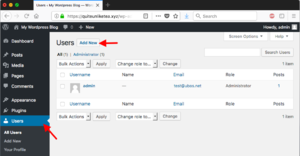 |
| 2. | Fill out the form with the profile data of the user that will do most posting. Set the role to "Contributor" so you can actually post, and click "Add New User". | 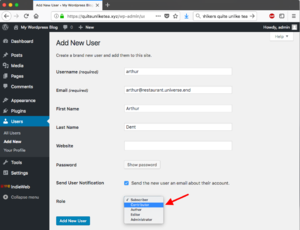 |
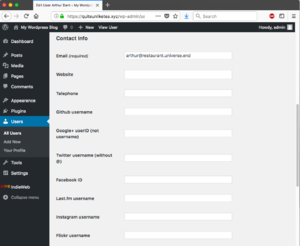
| 3. | Tell your visitors where else you have an on-line account. In the list of users, click on the account you just created. | 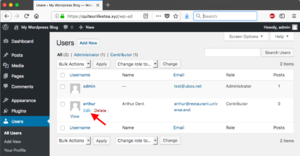 |
| 4. | The form that comes up has fields for Twitter, Instagram and Facebook accounts and many others. (You may need to scroll down some.) There is also an option for "Other sites" that aren't listed. You can fill in as many or few as you like.
These sites are used for 'rel-me' links...Not only does this create links for people to find you on various sites, this is used by IndieAuth to help you log in using that service. Click "Update user". |
 |
Set options
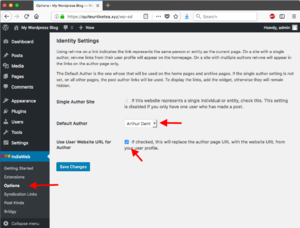
| 1. | Review the IndieWeb Options: in the sidebar, select IndieWeb and Options. You can either declare your site to be a single-author site (the default if you only have one author on the site) or a multi-author site. This will impact the placement of rel="me" links.
Also, Wordpress has its own profile page for you. If you would like to replace this with your personal homepage that's managed somewhere else than within this WordPress installation, check the box for the User Website URL. |
 |
| 2. | Review the presentation options for syndication links: in the sidebar, select IndieWeb and Syndication. Syndication Links are links to copies of your posts on other sites. You have a choice of how they are rendered. | 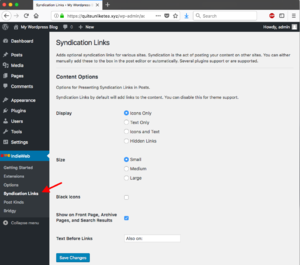 |
| 3. | Configure discussion settings: in the sidebar, select Settings and Discussion. Enable all checkboxes under Default Article Settings to allow comments and linkbacks (pingbacks and webmentions). Scroll down to Webmention settings. Enable Webmention Support for Pages if you wish pages to be able to receive webmentions. You can also set a page to receive all webmentions coming to the root of your website. | 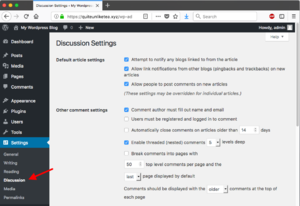 |
Kinds of Posts
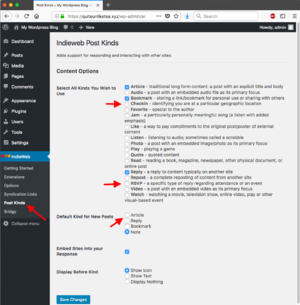
Unlike a usual blog, the Indie Web let's you distinguish between different [[Post_Kinds_Plugin|kinds of posts}}. That helps other people's Indie Websites to make sense out of our posts without human intervention.
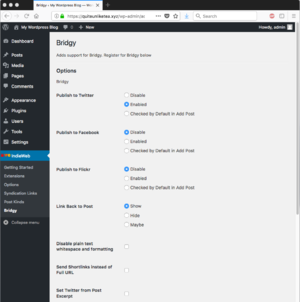
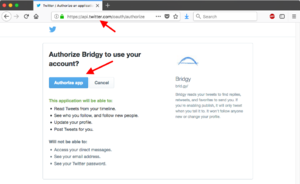
Activate Bridgy
And we are done! You might want to post to the Indie Web with your new Indie Website for a while, see how it goes, and adjust your settings. But you are up and running now. Congratulations!
For more info on Wordpress with Bridgy, see WordPress with Bridgy.
See Also

